How to Re-Host Licenses All license items within one ticket can be re-hosted using the WebDepot on https://license.iba-ag.com Enter Ticket Information After opening the WebDepot, enter the ticket number into the Ticket input and click Next:
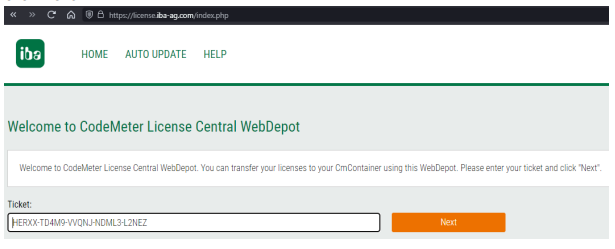
This should display the licenses which are contained in the ticket, like in the following example:
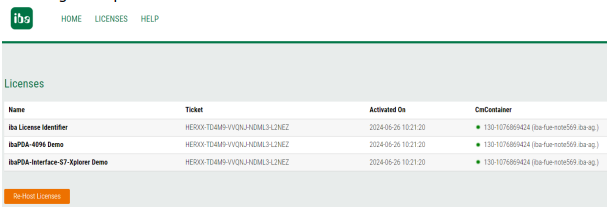
If this view is not shown, click on “LICENSES” at the top of the page. Then, at the bottom, click on the button “Re-Host Licenses”.
Deactivation with Internet Access – Direct License Transfer
The Direct License Transfer will handle the required data transfers automatically.
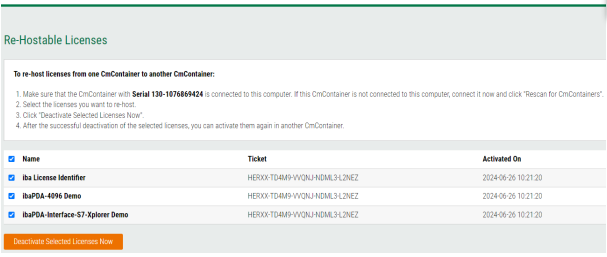
Make sure that all license items are selected. Then click the “Deactivate Selected Licenses Now” button. A progress dialog will appear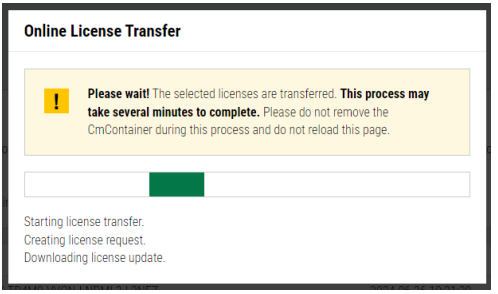
After the deactivation is finished, the result will be shown.
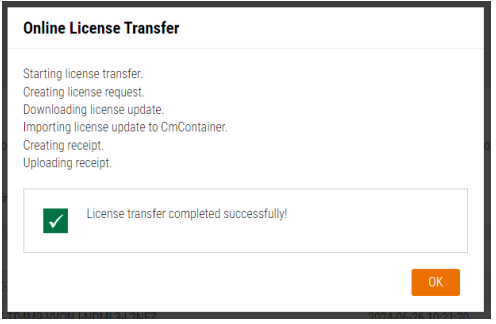
At this point, the licenses are available for activation again.
Deactivation without Internet Access – File-based License Transfer
If it is not possible to activate licenses on a system with internet access, the data transfer must be done manually. Start by opening the CodeMeter Control Center and select the license container that you want to re-host the licenses from.
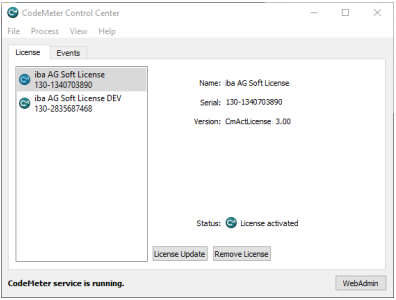
Then click the “License Update" button.
Click “Next” to create a license request on the following page. Choose the location where the request file should be stored and click “Commit”.
The resulting file with the ending *.WibuCmRaC needs to be available on a PC where the WebDepot can be accessed in a browser.
When you are on the page “Re-Hostable Licenses”, locate the link “File-based license transfer” on the bottom right and click it.
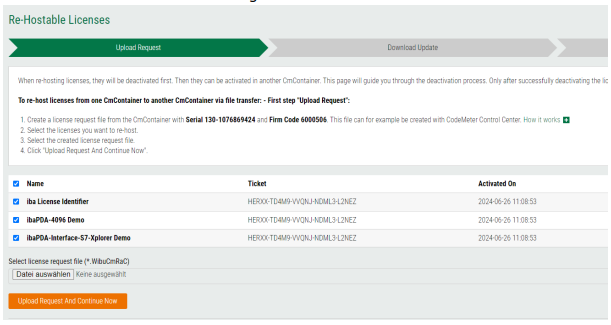
Under “Select license request file”, choose the file that was created earlier and then click “Upload Request And Continue Now”
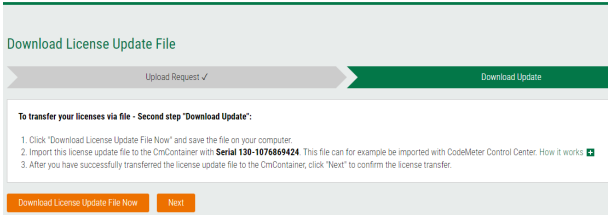
On the following page, the license update is available for download. Click the “Download License Update File Now” button to retrieve it. This file with the ending *.WibuCmRaU then needs to be transferred to the PC where the affected container is available.
There, the CodeMeter Control Center is used again to apply the update. Click “License Update” again and choose “Import license update” on the second page. Locate the downloaded update file and select it. Follow through the steps to apply the update.
Clarification: Even if licenses are supposed to be removed from the container, the procedure is still called “license update”.
Finally, a confirmation of the licenses being removed is required. This can be done with a receipt file. From the CodeMeter Control Center select the License Update again and choose the third option “Create receipt”.
In the dialog, select where the receipt file should be saved. Then transfer the receipt file to the PC where access to the WebDepot is possible.
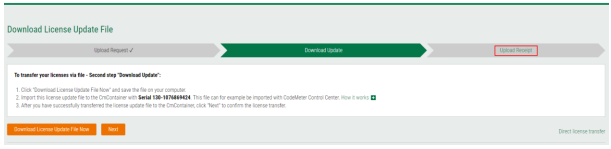
In the WebDepot, move to the “Upload Receipt” section of the file-based license transfer.
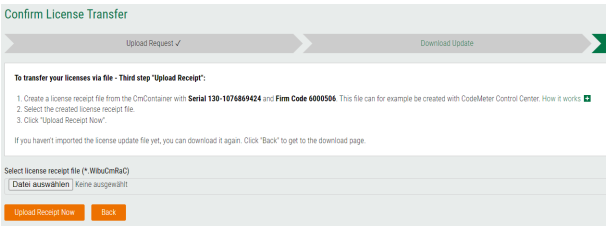
There, again, select the created receipt file and click “Upload Receipt Now”.
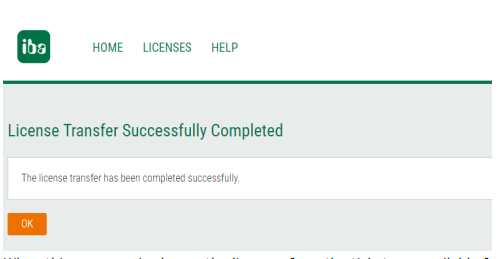
When this message is shown, the licenses from the ticket are available for activation again
Was this article helpful?
That’s Great!
Thank you for your feedback
Sorry! We couldn't be helpful
Thank you for your feedback
Feedback sent
We appreciate your effort and will try to fix the article